How to Send A Lead Magnet with ConvertKit and Squarespace
There’s nothing more exciting than finishing your first lead magnet to deliver to your audience! But sometimes it can be confusing adding it to your email service provider, like ConvertKit, and embed it to your Squarespace Website!
I’ll show you step-by-step how to add your first lead magnet to ConvertKit!
Table of Contents Show
What do you need before Sending a Lead Magnet?
A Free or Paid ConvertKit Account.
A paid account isn’t necessary, but it will allow you to send an automated welcome sequence.
A finished Lead Magnet aka Freebie aka Opt-In
A Landing Page, a Blog, or any page to embed your form
A Thank You Page to redirect users after they sign up for your freebie
Create a ConvertKit Form

Head on over to the Landing Pages & Forms page on ConvertKit Header Menu. Beneath your sign-up statistics, click on the red Create New button.
Choose a form type
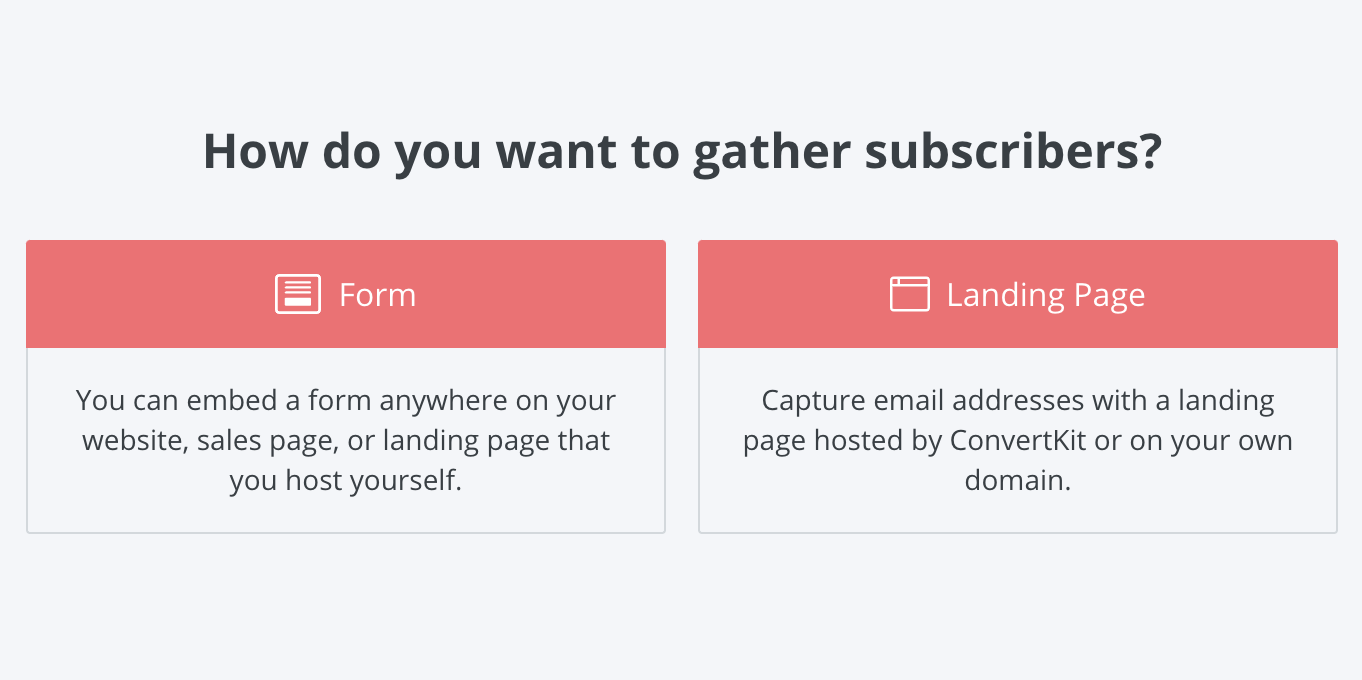
You have the option to choose a Form you embed on your site or use ConvertKit’s Landing Page Templates.
I personally don’t like their Landing Page templates. I prefer to use their basic forms and create my own Landing Page on my site - plus it provides the added bonus of sending more traffic to my site! AND I can style the page exactly as I want.
Learn how to make your own landing pages in Squarespace with this super easy trick!
So, choose the form type you prefer!
Choose a ConvertKit Form Display Format

The options are:
Inline - this form appears within the content of your page - wherever you embed it. It’s most common on blog posts, footers, and sidebars.
Modal - a form that pops up based on timing, exit extent, percent of the page scroll, or even when clicking a link or button.
Slide-In - this form slides up from the bottom right or bottom left of your site after a certain time or scroll percentage
Sticky Bar - a form that sticks to the top or bottom of your site.
In this tutorial, we’re choosing an Inline Form, but I do have a great tutorial on adding a ConvertKit Modal Popup in Squarespace.
Choose the Convertkit Inline Form Template

There are tons of different options here, but I prefer the Clare Template. This form allows me to customize the rest of the page on Squarespace exactly as I want it!
Style the Form
Next, it’s time to style it! Before you get frustrated with fonts - don’t worry. These forms will adapt to your site’s fonts! Also, clicking on different parts of the form will allow you to edit any of the stylings.
Here’s what I updated when it comes to styling a Clare Form.

Add a First Name custom field.
Under the email box, there is a plus sign.
Clicking the plus sign will allow you to add a custom field.
A menu will appear on the right-hand side to add the First Name field, a checkbox to make it required, and adjustments to the field box.
Edit to match your needs.
If you hover just left of the Name box, three lines will appear, allowing you to adjust the order of the Name and Email field.
Click and hold and drag it before the email box.
Style the button.
Click on the button so the styling menu will appear.
Adjust the colors to match your brand, edit border-radius, and font weight.
Remove Built with ConvertKit badge.
Click on Built with ConvertKit, a menu will appear, uncheck the box to remove the badge.
Update the ConvertKit Form’s General Settings
Next, click on Settings in the Sub-menu and a new overlay will appear.
General Tab

Choose what you want to happen after someone submits their details. Choose Redirect to an external page, and add the link to your Thank You Page that you already created.
Domain Name Tab
Leave this section as it is!
Incentive Tab
Check the Send incentive email box

Click Edit Email Contents
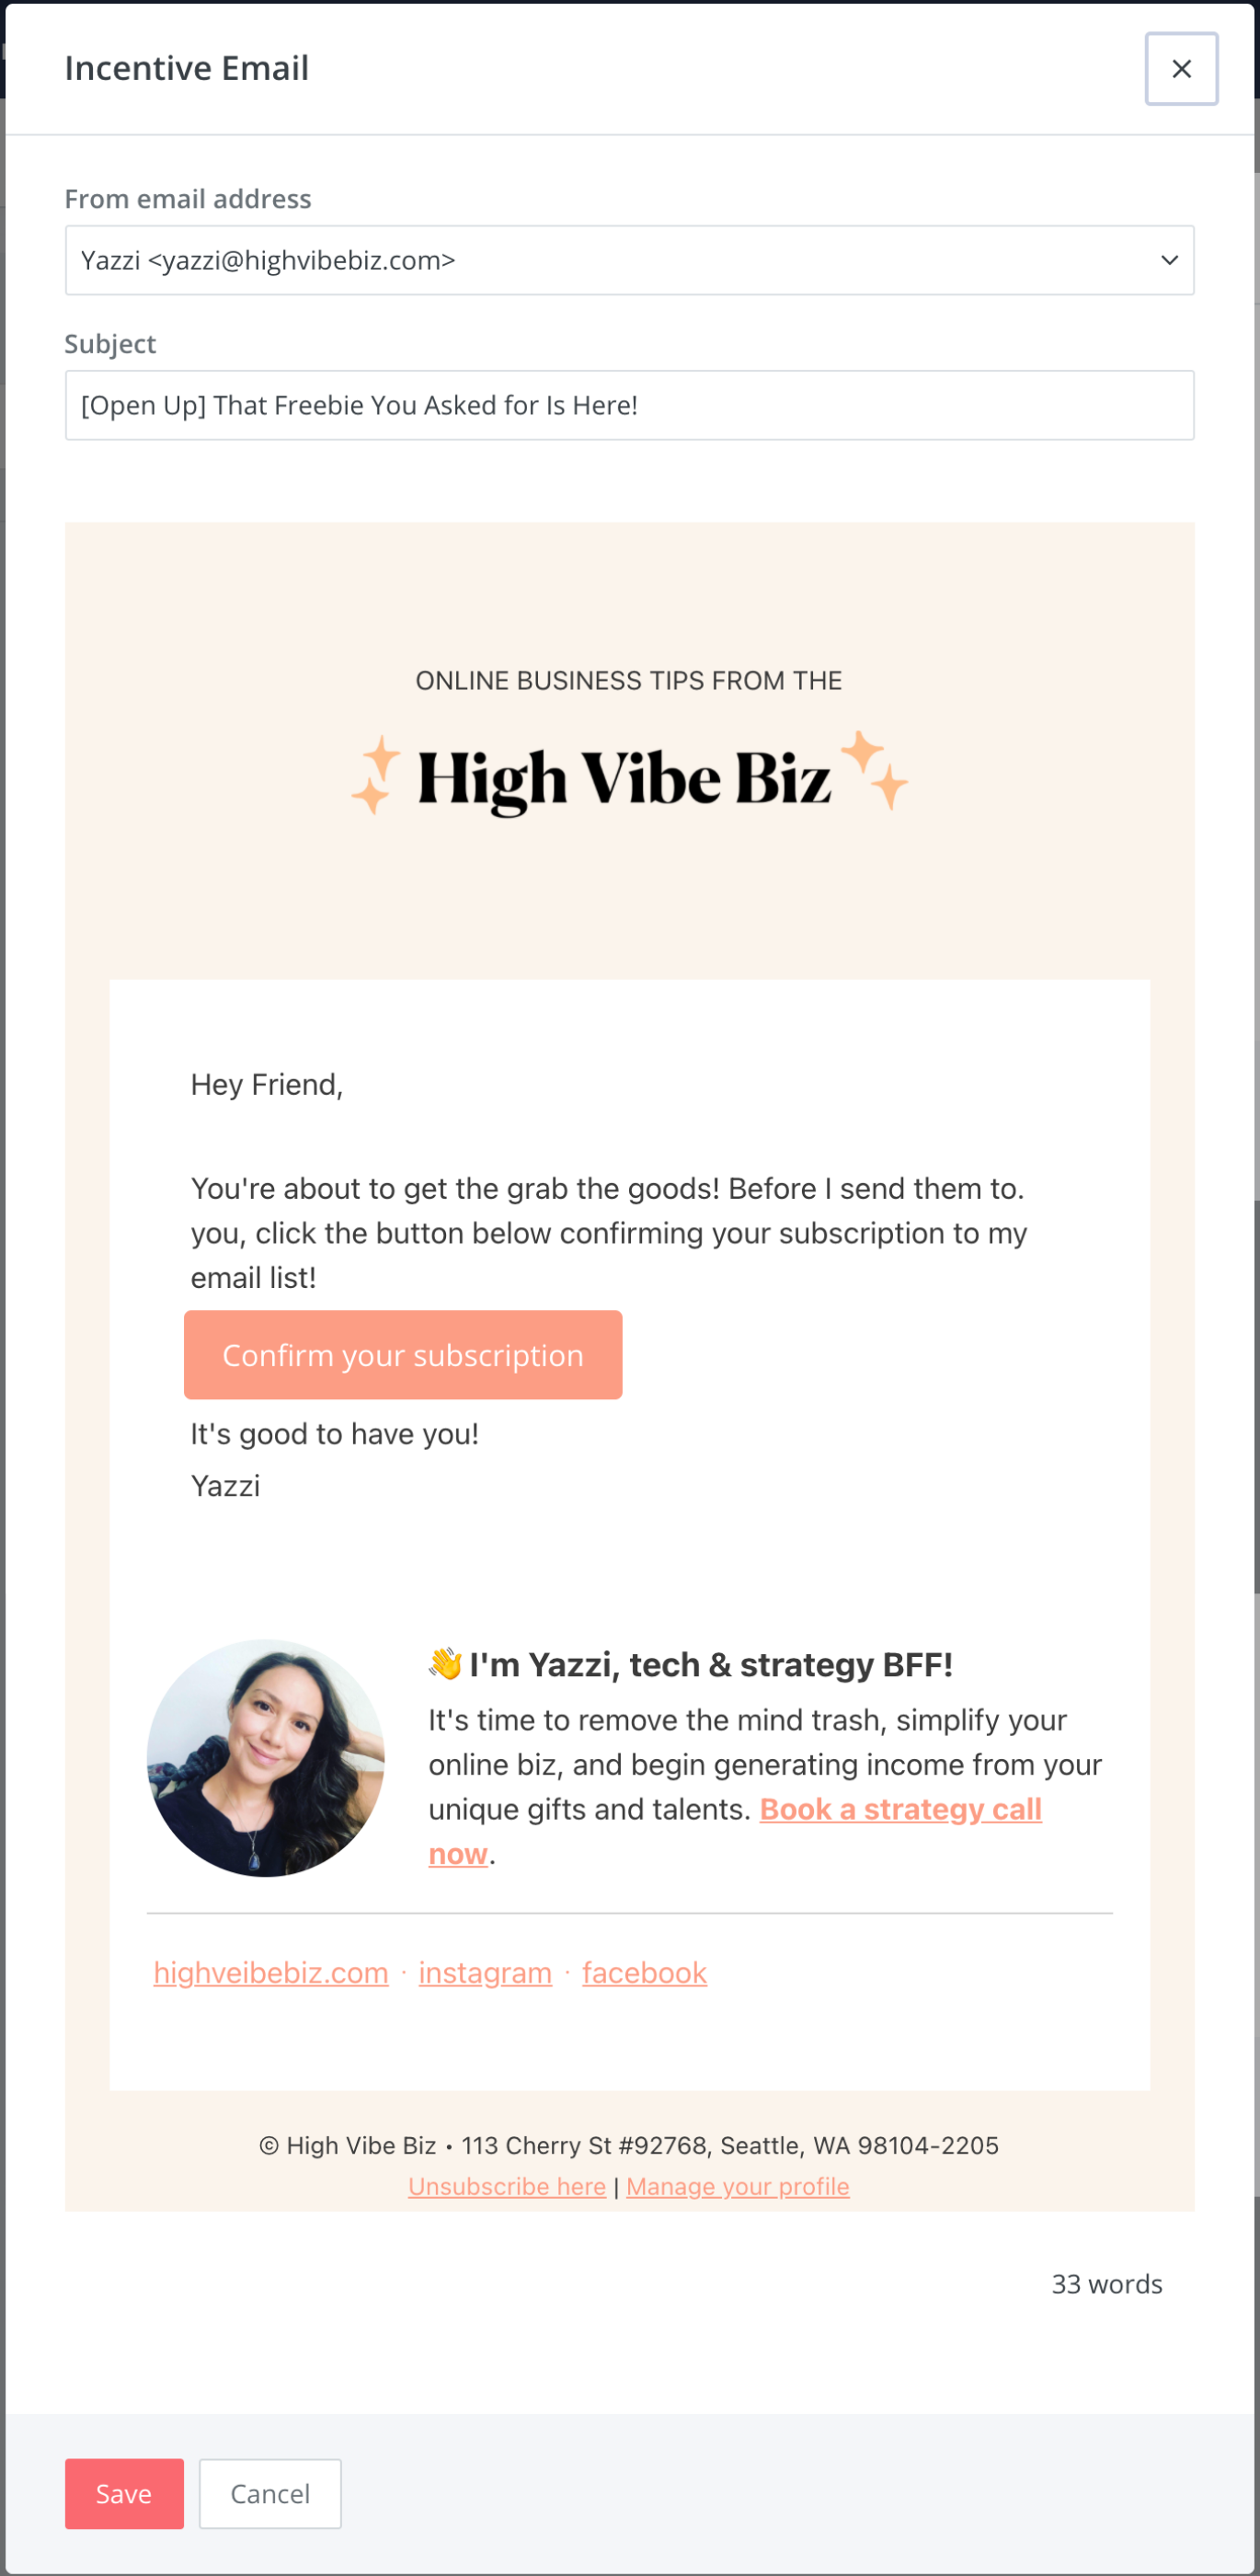
Confirm your send from Email Address
Edit Your Subject Line to something clever. I like, “[Open Up] Insert Your Freebie Name is Here”
Personalize, style, and save your email.
Save the Email
After confirming redirect to:

Add your Lead Magnet by clicking the red “Download” button then follow the prompts to upload your freebie.
Advanced Tab
Nothing to do here! Just leave this exactly as it is!
Once you’ve finished, save the settings! Immediately after, Save the entire form. Yes, you want to save it before you embed it.
Embed the form on your website

Now, it’s time to embed the form onto your site. If you haven’t yet, Save your form. It’s that big red button on the Top Right Hand Side.
Once it’s saved, click Embed in the gray submenu.
Copy the Javascript Code because it will automatically update if you make any changes. HTML doesn’t automatically update and can make your site load more slowly. We don't want that - so avoid it if you can!
Head to your Squarespace Website.
Open the page where you’ll be embedding the form - this would be your Unique Landing Page, Blog, or Sidebar.
Add a Code Block to your page.
Paste the Javascript code into the code block. Click Save.
Then Save the Page!
Once the page is saved, it will automatically refresh and you should see your form appear like magic!
If you want to open a form by clicking a button or an image, check out this great tutorial!
Test your form!
Now, you want to test it out! Go to the live page. Add your email address.
Note if you’re already on your list, you need to use Email Plus Addressing. Adding a plus sign and any number of letters between your main email address and before the @ sign will give you unlimited email addresses, that will continue to send to your main email inbox.
“yourname+1@email.com” will go to yourname@email.com
If everything works, you’re good to go! Start promoting your Freebie. If it doesn’t, just go through the steps again, and check for any mistakes!
Yay, you have a ConvertKit Form on Your Site that’s ready to deliver your Freebie!
Time to celebrate because this means you can start growing your list and selling out your offers! Once you do this a few times, it’ll definitely become second nature!
Are You On Pinterest?
If you enjoyed this post please share it, thanks!